The Scenario
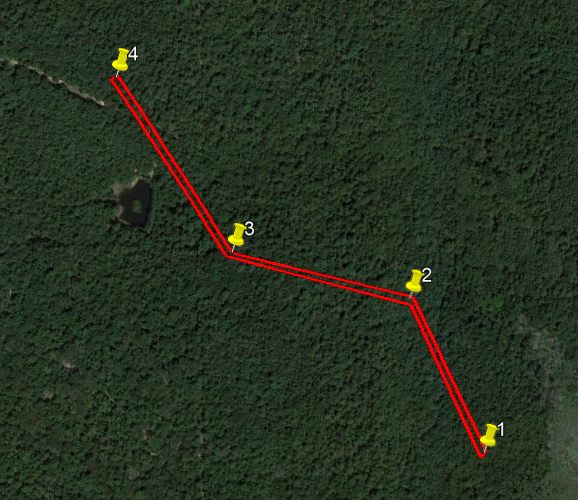
There is a corridor that needs flown in the wooded area. Because there are no visual landmarks to base the area of flight required, we might appear to be stuck. However, we can use a combination of Google Earth and QGroundControl to plan corridors very precisely.
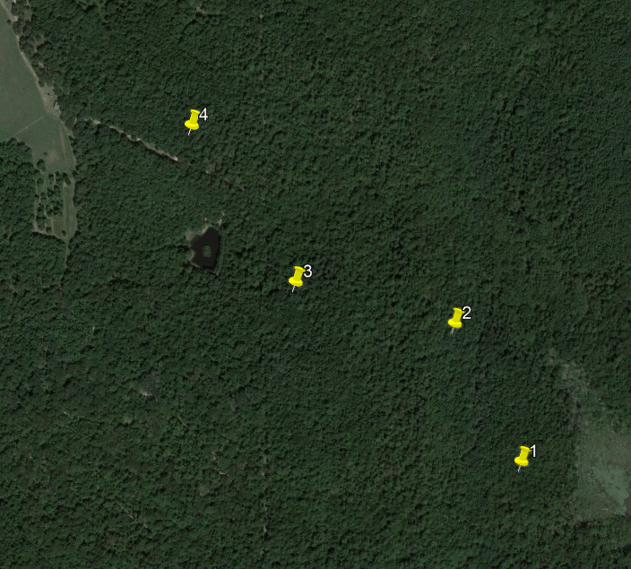
If you have the coordinates for each point the corridor changes direction, we can make a path in Google earth using these as reference.
Solution
1. Input each point where the corridor changes direction into Google Earth. Use this website if you need help putting state plan coordinates into Google Earth.
2. Draw a Polygon (because a line will not go into QGroundControl).
a.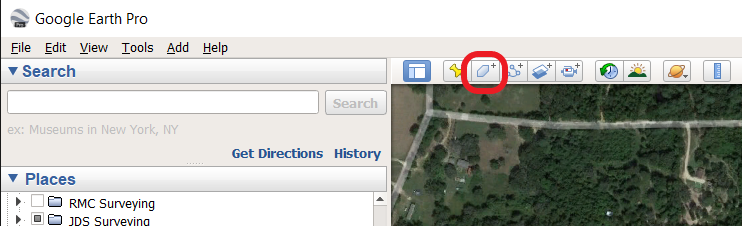
b.
3. Right click on the polygon on the left side to save it.
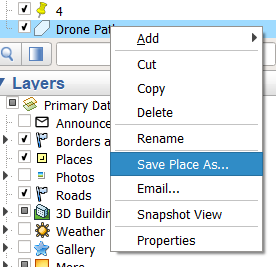
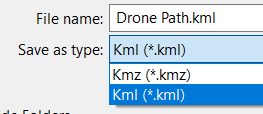
4. Be sure to select the ".kml" file extension to be compatible with QGroundControl.
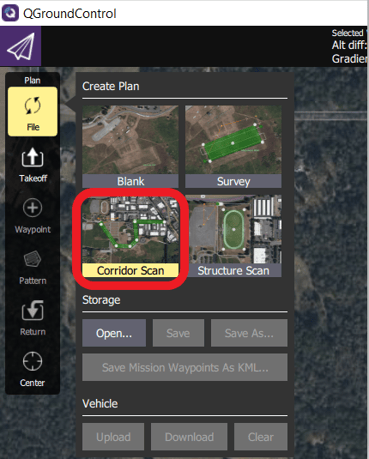
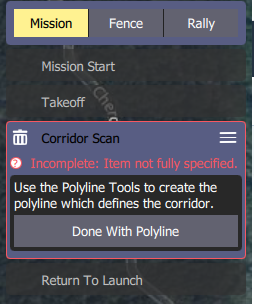
5. Select the "Corridor Scan" option on the left side
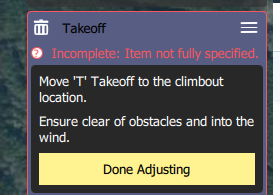
6. Click "Done Adjusting" on the takeoff tab (it will snap to the drone's location on boot up).
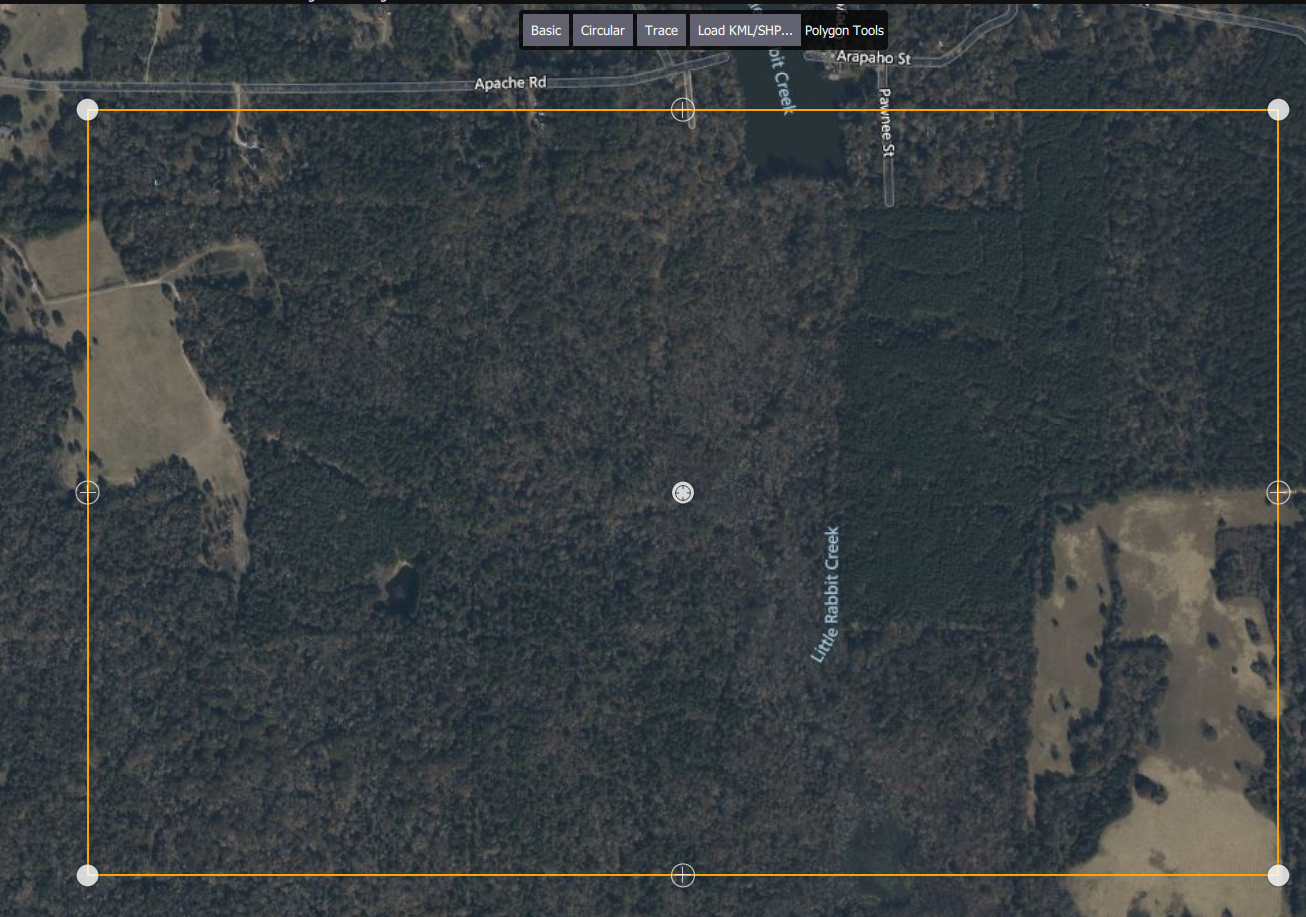
7. Click "Basic" at the top of the screen to draw a corridor.

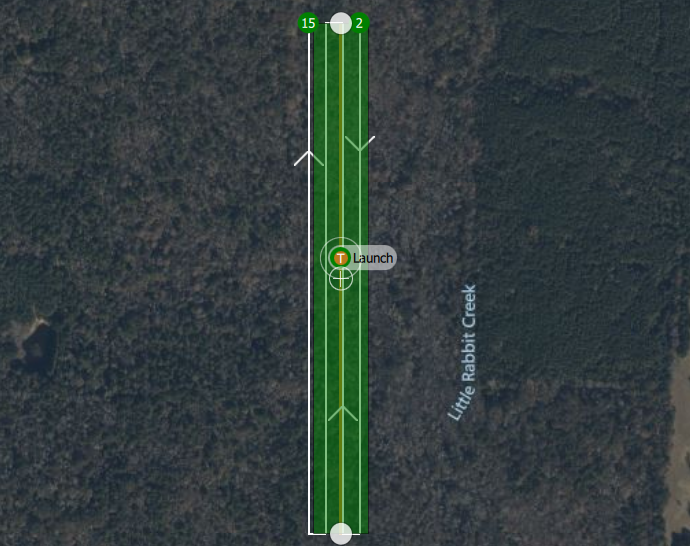
8. It should look like this
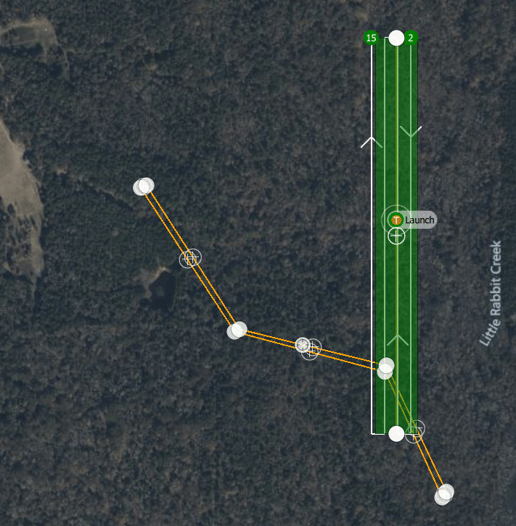
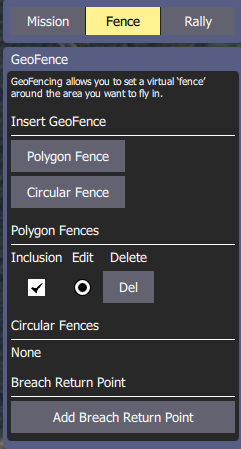
9. Go to the "Fence" tab in the upper right corner.
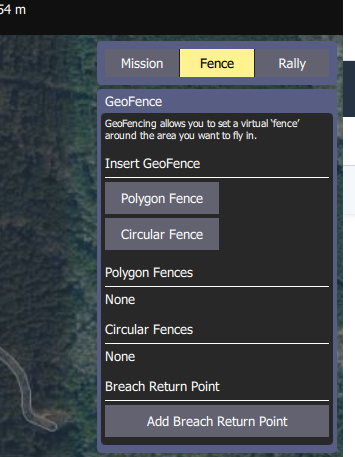
10. Select "Polygon Fence".
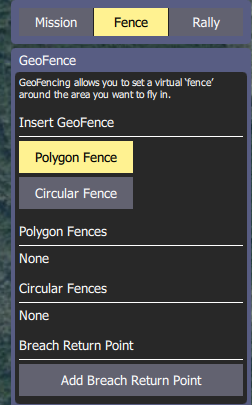
11. It should look like this
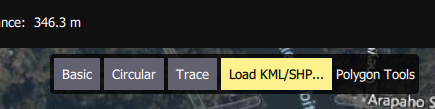
12. Select "Load KML/SHP" in the top center
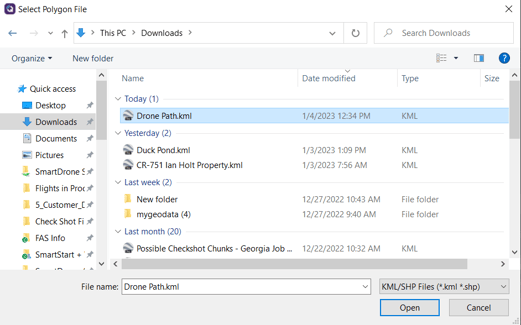
13. Select the kml file you would like to import
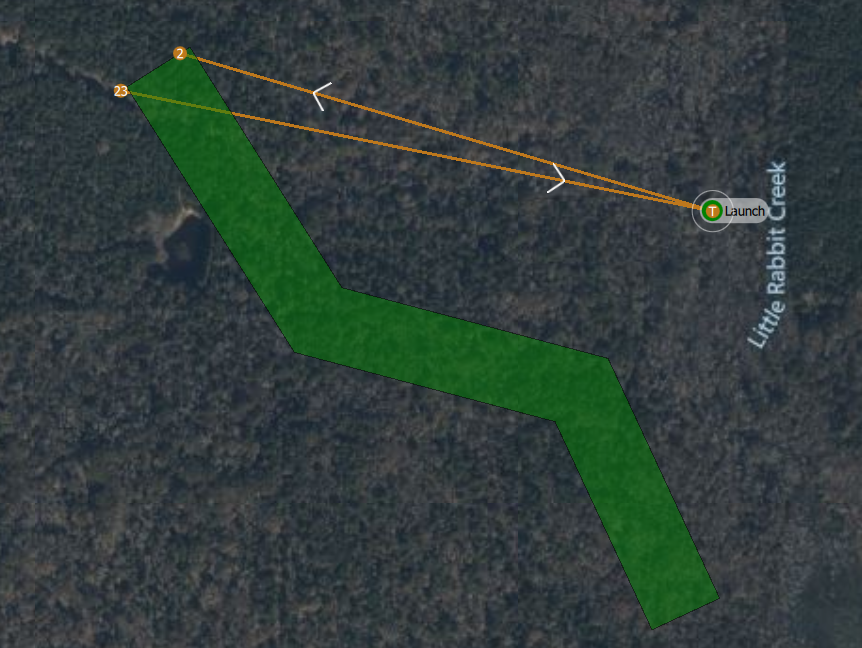
14. We now have a polygon fence that we can base our corridor on.
15. Select the "Mission" tab in the upper right corner
16. We now can see both the mission area and the fence that we have generated.
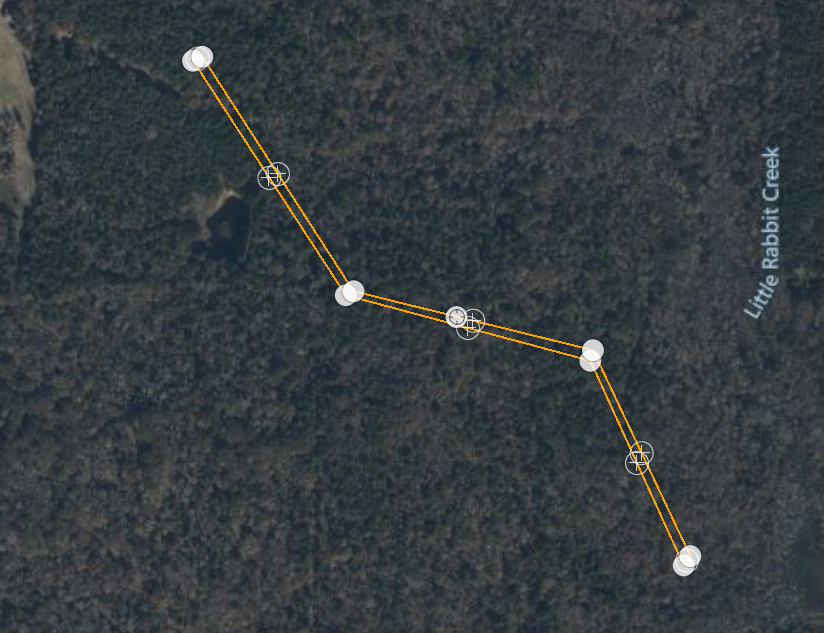
17. We can add vertices by clicking the gray circles with "+" icons in them
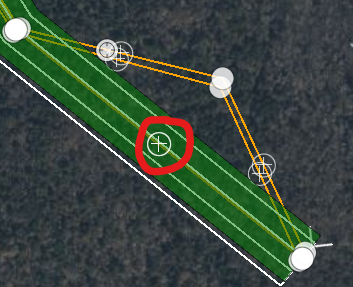
18. We now have a corridor that follows the desired path.
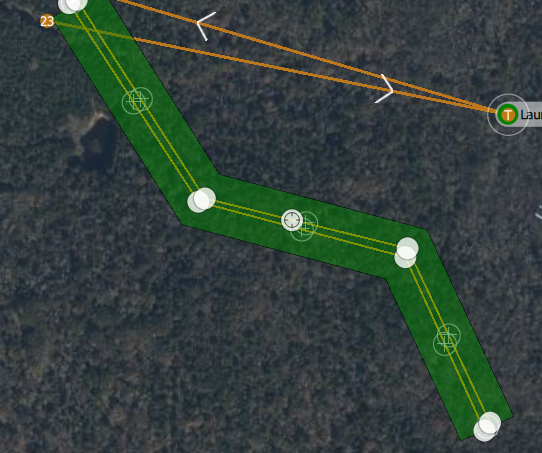
19. We can now disable our Geofence. Click the "Fence" tab.
20. Select the delete button.
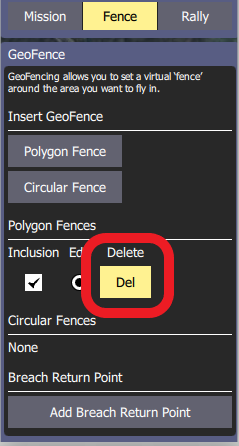
Be sure to delete the geofence before saving or uploading to the drone, otherwise the Discovery unit will be limited to the space inside that area.
21. We are now left with just the planned flight area